Setup SPARK Environment Locally for Big Data Development
Spark has been reported to be one of the most valuable tech skills to learn by data professionals and demand for Spark and Big Data skill has exploded in recent years. As one of the latest technologies in the big data space, Spark is quickly becoming one of the most powerful Big Data tools for data processing and machine learning, its ability to run programs up to 100x faster than Hadoop MapReduce in memory.
Unlike single program installation, Spark environment setup is not that straight forward but needs a series of installations and configurations with sequence order requirement and dependencies from operating system to software. The main purpose of Spark is dealing with Big Data which means data is too big to allocate into a single server but multiple servers to comprise cluster. Because it’s cluster environment so that Spark is naturally installed in Linux server, therefore, from the operating system perspective, Linux is the only option, which decide the entire process is going to heavy rely on CLI instead of GUI so that the basic Linux CLI command is required before rolling up your sleeves and get your hand dirty.
But if you don’t want to setup environment by yourself, there is also a good solution provided by Databrick. Databrick is a company started by the creator of Spark that provides clusters that run on the top of AWS and adds a convience of having a notebook system already set up and the ability to quickly add files either from storage like Amazon S3 or from your local computer. I has a free community version that supports a 6 GB cluster. Because it is a web-based service so that you can easily follow the wizard on Databrick web portal to finish setup. We don’t show that here because it’s out of our scope.
Before we begin, something is very necessary to emphasis here. Spark is written by Scala, Scala is written by Java, so we have to follow the sequence to make sure Java installed then followed by Scala. Now let’s start it.
JDK (Java) Installation
Use below command check if Java 8 or above is in your system, if yes, then we can go directly install Scala.
1 | Java --version |

Openjdk version has to be 1.8.0 or higher. If JDK not installed, we have to install Java first.
From Oracle official website download the openJDK source file jdk-8u161-linux-x64.tar.gz to put it in Home directory, create a new directory at /usr/local/java, use tar command to uncompress java files into it.
1 | cd /usr/local |
1 | tar -zxv -f ~/jdk-8u161-linux-x64.tar.gz -C ./ |
Edit /etc/profile file, add JDK into PATH environmental variable at the end of file
1 | JAVA_HOME=/usr/local/java/jdk1.8.0_161 |
At last, execute below command to make configuration take effect
1 | source /etc/profile |
Scala Installation
If you use Ubuntu then Scala installation is very easy becauseapt repository and its mirror site contains Scala so that you can install it by below command
1 | sudo apt-get update |
In this case, we use Centos7, we need to download rpm package from Scala website to install it which is very similar with JDK. We have 2 options to do, once is local install; another one is online install but it needs you have a stable network connection.
Local Install Scala
First thing we need to go to https://www.scala-lang.org/download/, download scala-2.13.5.rpm from Archive
1 | wget https://downloads.lightbend.com/scala/2.13.5/scala-2.13.5.rpm |
To install the package, use the yum localinstall command followed by the path to the package name:
1 | sudo yum localinstall scala-2.13.5.rpm |
or use rpm command
1 | sudo rpm -ivh scala-2.13.5.rpm |
The -v option tells rpm to show verbose output and -h to show the hash marked progress bar.
If the package depends on other packages that are not installed on the system, rpm will display a list of all missing dependencies. You will have to download and install all dependencies manually.
Instead of downloading and the installing the RPM package locally, you can use the URL to RPM package to solve dependency problem easily.
Online Install Scala
Issue yum command with Scala RPM package URL to install online
1 | sudo yum localinstall https://downloads.lightbend.com/scala/2.13.5/scala-2.13.5.rpm |
or use rpm command
1 | sudo rpm -ivh https://downloads.lightbend.com/scala/2.13.5/scala-2.13.5.rpm |
SPARK Installation
There is tricky here that the Apache Spark now has two major versions, one is 2.4.7 which is compatible with python 3.5 or lower version if you use pyspark to write your applications; another one is 3.0.2 which is compatible with python 3.6 or higher version, so make sure your python version before you download it. In our case, we use python 3.8 so we should choose Spark 3.0.2.
First, let’s go to Spark official download page to download Spark 3.0.2 https://spark.apache.org/downloads.html, install file is a tgz package. We also need switch use to root for the sake of permission by command
1 | su - root |
1 | wget ftp://mirror.csclub.uwaterloo.ca/apache/spark/spark-3.0.2/spark-3.0.2-bin-hadoop2.7.tgz |
Next, we uncompress file to /usr/local/spark
1 | cd /usr/local |
1 | tar -zxv -f ~/spark-3.0.2-bin-hadoop2.7.tgz -C. |
Then, we need to install a small package to use pyspark – py4j
1 | yum install -y py4j |
Last, we need to edit environment variable to add Spark. use vim to edit /etc/profile
1 | export SPARK_HOME=/usr/local/spark |
Now, let’s launch spark-shell by issue command
1 | spark-shell |

Config Spark for user
We still need to do some configurations for user or group other than root because that applies to common situation, first switch back to user
1 | su - user_name |
Edit user environment variable to add Spark to it, vim open file ~/.bash_profile
1 | vim ~/.bash_profile |
add Spark directory to PAH
1 | export SPARK_HOME=/usr/local/spark |
Now, let’s launch pyspark by command pyspark

You might come across some permission issue when you use pyspark shell or in Jupyter notebook, in this case, issue below command to grant permission
1 | sudo chmod 777 /usr/local/spark/python |
Jupyter Notebook and Jupyter Lab configure for Pyspark
Jupyter notebook provides us a very user-friendly interactive python development environment, there is no exceptional for pyspark, so now let’s do some setup to let pyspark can be run on Jupyter
1 | export PYSPARK_DRIVER_PYTHON="jupyter" |
If you use virtual environment on python3 then value of PYSPARK_PYTHON should be python instead of python3.
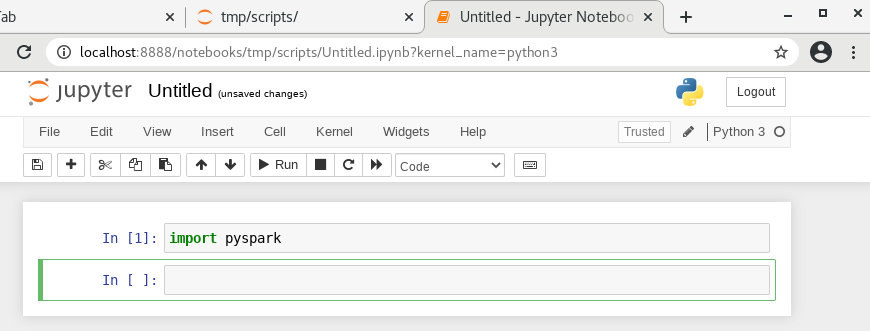
Now, we can launch Jupyter notebook to start use spark and pyspark
1 | jupyter notebook |
or Jupyter Lab
1 | jupyter-lab |

