Online Document/Resume Deployment on Github Pges with Docsify
Pandemic changes the world dramatically, digitalization and virtualization like tide are becoming unstoppable and deeply impact the way we are living. Meta is coming up and becomes prevalent under this circumstance. We are to be pushed to think seriously how to build personal platform to present ourselves and allocate our resources efficiently, one of the most important personal documents is resume, but for people who don’t have development background that is never easy even so many technologies we can utilize, because the basic web technologies such as html, css, javascript, node.js, mysql and mongodb are still used as cornerstone and unavoidable, some web framework like react.js, angular and vue.js are even more overwhelming for non technical person. The question is now what is the most cost efficient way to deploy and manage online resources by using the least technology? Cost efficient here includes both economic and work effort, you might say there are a lot of web services like Wix.com to provide no coding and one stop web solution but it is expensive so that there is no perfect solution but least effort one, after given a quit a lot of tries, there is a way by using technologies with the shortest learning curve to be able to quickly deploy your digital resume online for free, they are
- Markdown
- Basic git commands
- Free github repository
Get started with high-level workflow and main idea
First of all, we have to convert our resume from traditional Word or PDF to other format. From this point, I use to try Latex, it is a high-quality typesetting system; it includes features designed for the production of technical and scientific documentation with very professional and beautiful output, but the drawback is its relatively complex syntax and high thread hold to convert to html on web. What is the best tool & format that is suit for both writing and publishing on web –Markdown.
Markdown is a lightweight markup language and beautiful tool, focus on two objectives: simple syntax and human readability. It is a text-to HTML conversion for web writers. Markdown allows us to write using an easy-to-read, easy-to-write plain text format, then convert it to structurally valid HTML. From that perspective, markdown is the best way to reconstruct our resume from Word or pdf. There are tons of tutorials for markdown online, I list 2 posts for reference:
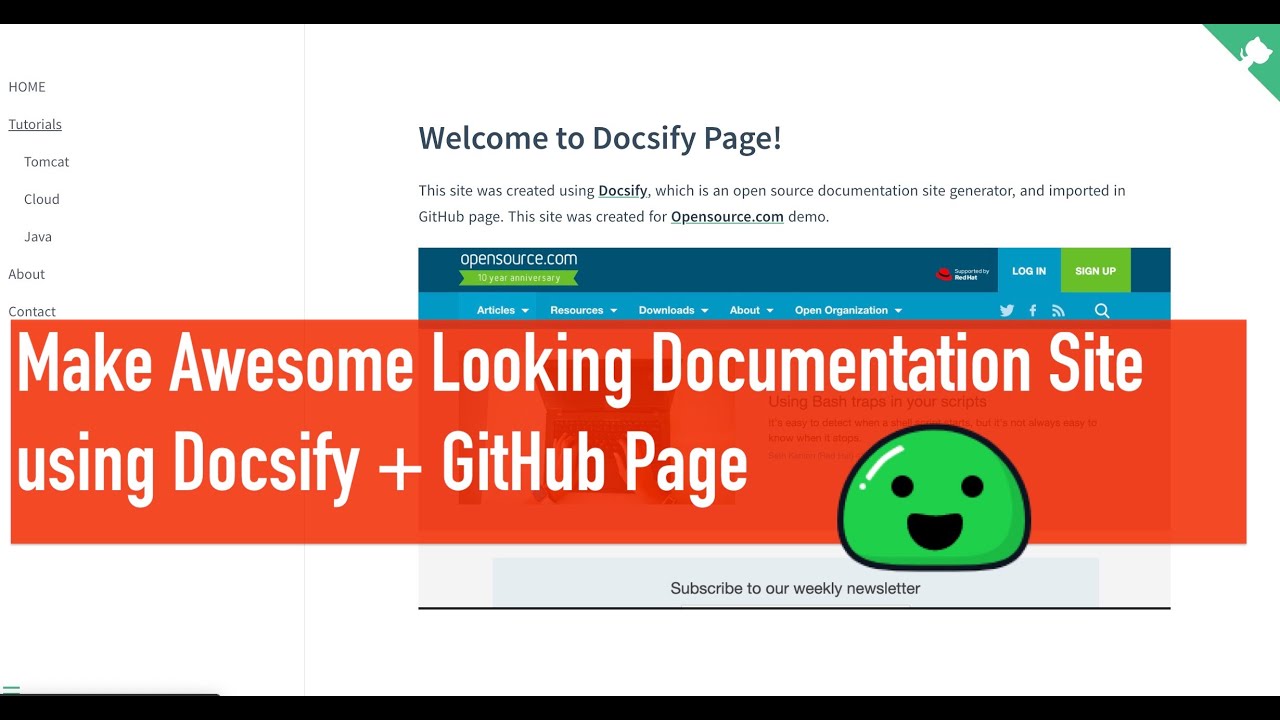
Second of all, we need a html site generator to reader our markdown format resume to be HTML pages. There are also a lot of choices for blog framework like Hexo, Hugo, Halo, but for simple resume present page, the functions those tools provide are kind of overweight, also users need to revise configuration file to change page layout so that they are not good options, what is the simple lightweight site generator to quickly generate static HTML page – docsify is the one. Docsify is an MIT-Licensed open source project with features that make it easy to create an attractive advanced documentation site. Unlike other blog site frameworks, they generate a bunch of files and folders after initialization, docsify only generates README.md and index.html, markdown file is the main content file and html is corresponding web file, so it is simple, concise and easy to operate. For more detailed information about docsify, docsify official site is the best place.
Finally, we eventually need a public space to store and publish our resume, there are a lot of web hosting providers, but for our simple static webpage site, we don’t need cloud virtual machine to host our resource, furthermore, they all charge us monthly fee and increase our cost. What is the trusted provider to offer web hosting service without cost – github pages. By default, GitHub Pages prompts users to use Jekyll, a static site generator that supports HTML, CSS, and other web technologies. Jekyll generates a static website from documentation files encoded in Markdown format, which GitHub automatically recognizes due to their .md or .markdown extension. Fortunately, GitHub Pages’ HTML file support means you can use other site-generation tools, including docsify, to create a website on the platform.

Play with docsify
The only prerequisite before installing docsify is npm tool, then we can install it simply by docsify command-line interface (CLI) through npm.
Install NPM
npm is the world’s largest software library (registry) and also a software package manager and installer for javascript and node.js, so we have to make sure node.js environment is ready before go to the next step. Installing node.js is pretty straightforward, now let’s see how to do that
Windows
- go to the
node.jsofficial site - download the stable version binary package
- install it by following wizard
- open the
cmd, then typenpm -v, it will return currentnpmversion number
Linux
download source code from
node.jsofficial site, my current version is node-v16.15.0-linux-x64.tar.xz, then put intorootdirectorycreate node folder under
/usr/local/1
2
3cd /usr/local/
mkdir node
cd nodeuncompressed installer package into
/usr/local/node1
tar -xJvf /root/node-v16.15.0-linux-x64.tar.xz -C ./
config
nodeenvironment variable: revise-/.bash_profile1
export PATH=/usr/local/node/node-v16.15.0-linux-x64.tar.xz/bin:$PATH

refresh environment variable make it effect
1
source ~/.bash_profile
check and validate result
1
2
3node -v
npm version
npx -v
Docsify installation
One line command install docsify after installing npm tool
1
npm install -g docsify-cli
check docsify version by issue command
1
docsify -v
customize your local directory to allocate your resume markdown file or other documents
1
2
mkdir ~/resume
cd ~/resumeinitialize docsofy, by issue command
1
docsify init
to launch docsify web service, we issue another command
1
docsify serve
now a static website is up and running on your localhost with port number 3000

now let’s check how does docsify work and what happened after initiation by opening resume folder then we see 2 files in that directory one is
README.mdand the other one isindex.html.README.mdis the actual web content file like resume, docsify rendersREADME.mdfile to webhtmlfile back-end so that we only need to edit and reviseREADME.mdfile to update our online resume, it’s easy and simple:smile:.index.htmlis actual docsify config file to customize our online contents. Next let’s config docsify to add some exciting widgets for our resume.Docsify configuration
Cover page
we can add a cover page before main resume section to show some personalizing items such as professional background, photo, brief introduction etc. To be able enable cover page, all we need to do is two things
create a new markdown file named it as “coverpage.md” and then add contents in it.
edit
index.htmlconfig file.1
2
3
4
5
6window.$docsify = {
coverpage: true,
// Custom file name
coverpage: 'cover.md'
};
Github repository
Configure the repository url, or a string of
username/repo, to add the GitHub Corner widget in the top right corner of the site.1
2
3
4window.$docsify = {
name: 'docsifyjs/docsify',
repo: 'https://github.com/docsifyjs/docsify/'
};
Theme
There are 5 themes provided by docsify official site they are: vue, bubble, dark, pure and dolphin. To change theme is easy and all we need to do is change css file name in
index.htmlconfig file
Work with GIthub Pages
Github provides quite a lot flexibilities and possibilities for us to practice personal project free of charge. All those cool features and functionalities are built upon github repository so that we can host our lightweight static personal website on it as long as we have repository combined with some basic git commands.
Create an empty Github repository
From github page official site, we might get misleading by the statement below, but one site actually means https://username/github.io domain but for subdomain, there is no limitation, in another words, we can build unlimited number of website like https://username/github.io/subdomain_name.
You get one site per Github account and unlimited project sites
login github account, head over to create a new public repository named resume, then copy the new repository address
Push resume folder files to the new repository
Create a sample GitHub repo, then use the following GitHub commands to check, commit, and push your code:
1 | //clone the new repository to local |
Setup Github Pages
Go to your new github repository site, from inside new github repository, click Setting:

click Pages on the side navigation column under Code and automation

like above shown, choose master branch and root folder then click Save, wait for about 1 minute, the site URL will be populated with :white_check_mark: in front of it, click it, our resume is published on github pages site and it should look something like this:

